
Retaining walls are not just functional; they can be a stunning addition to your landscape. Rendering these walls can take their aesthetic appeal to the next level. In this guide, we will walk you through the step-by-step process of how to render retaining walls.
Step 1: Prepare the Surface
Start by ensuring the surface of the retaining wall is clean and free of debris. Clear away dirt, loose material, and any existing render. This step sets the foundation for a smooth finish.
Step 2: Apply a Bonding Agent
Use a suitable bonding agent (such as Cemstik or BondCrete) to coat the wall’s surface. This promotes adhesion between the existing wall and the new render, enhancing durability.
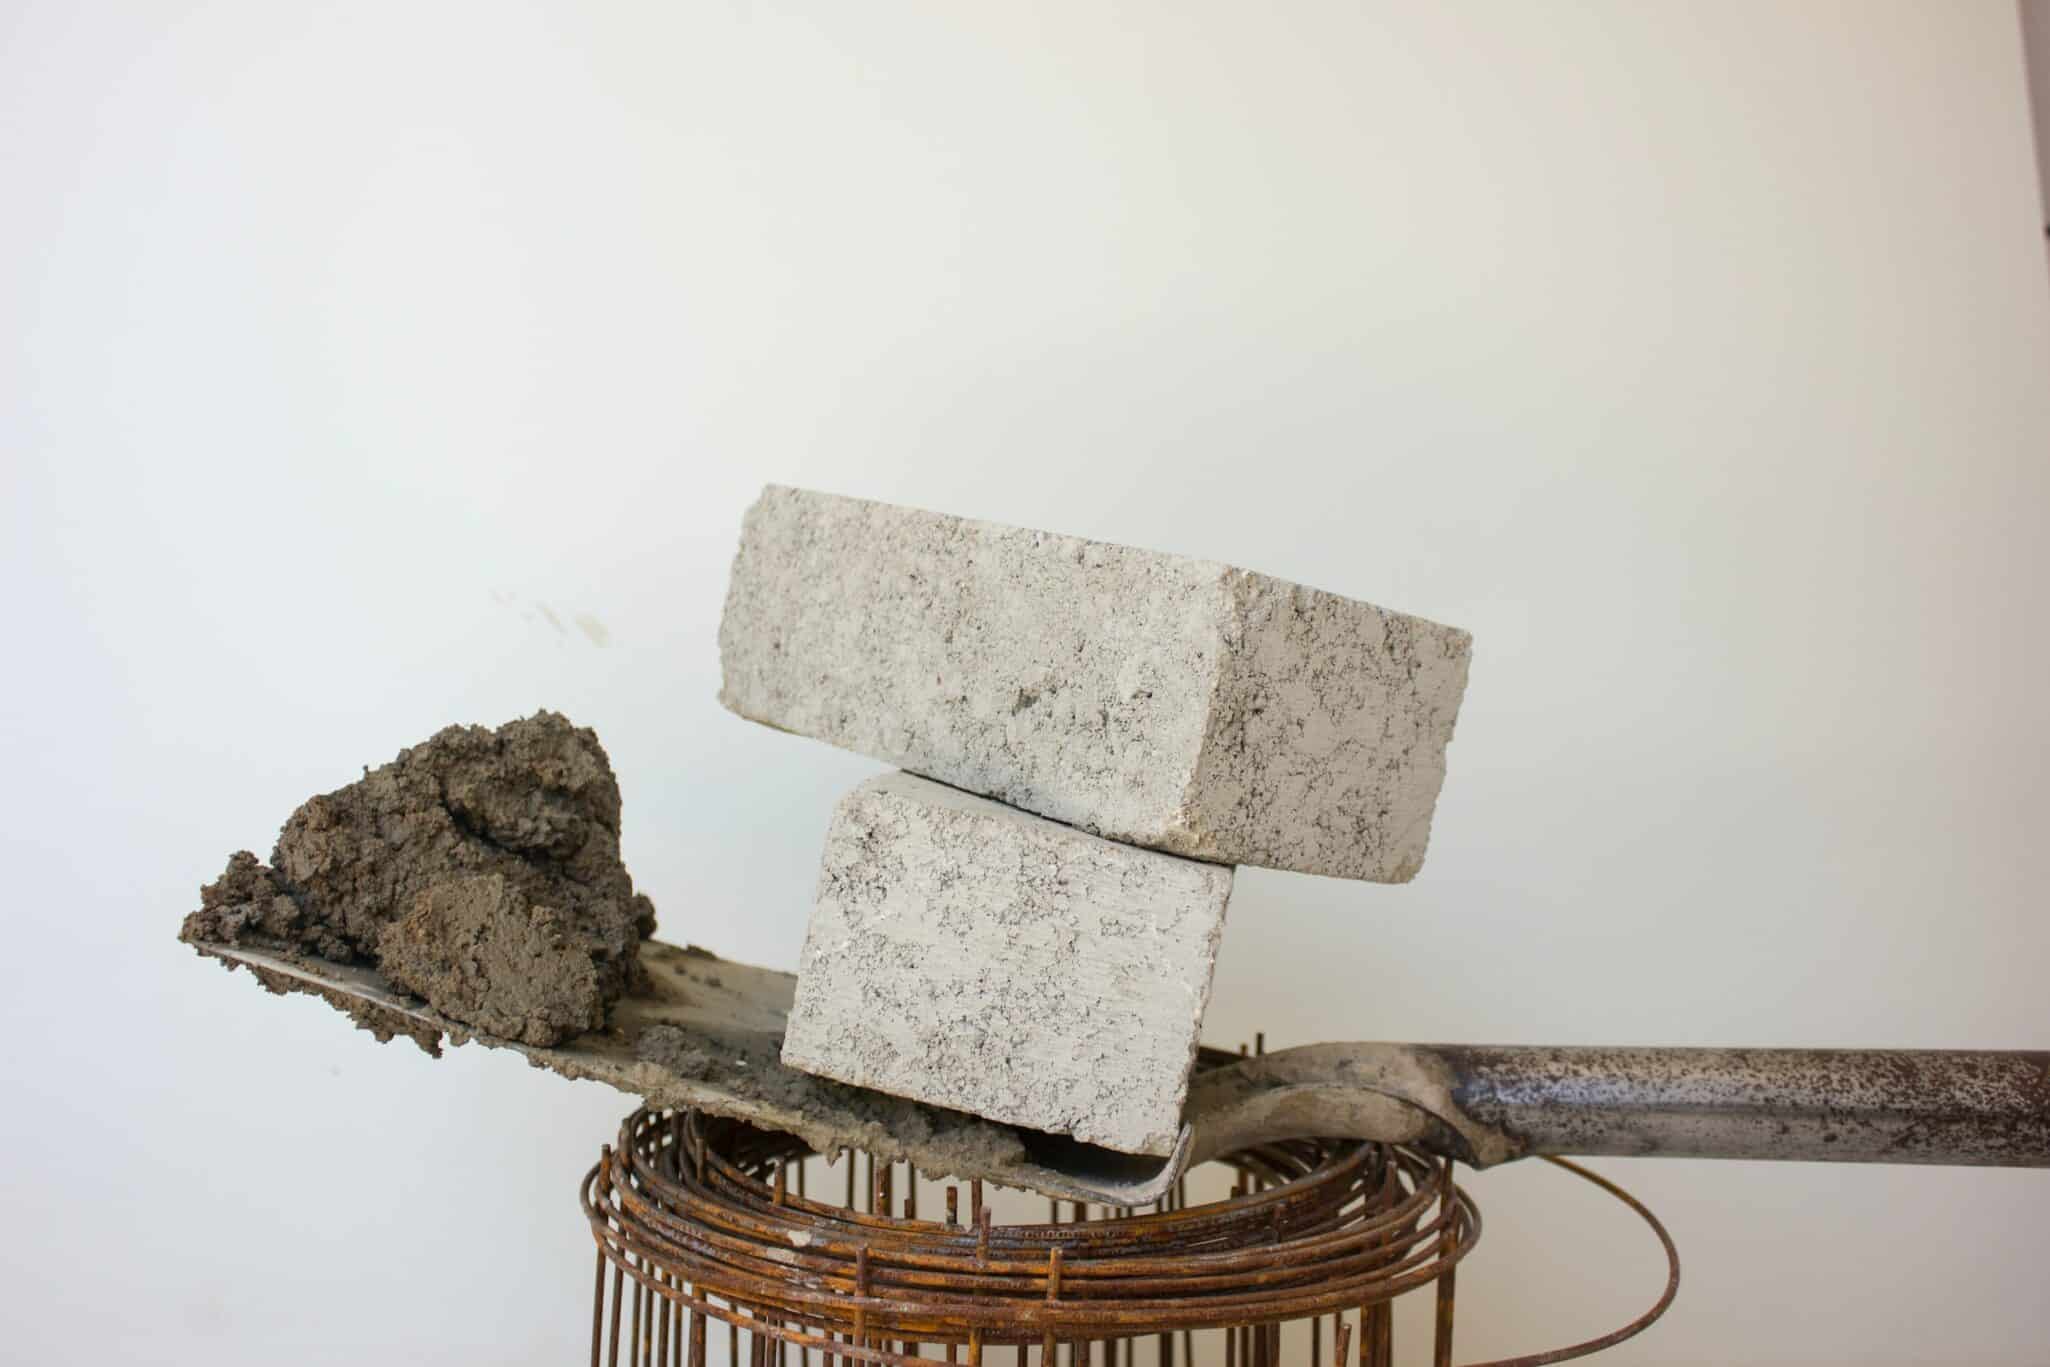
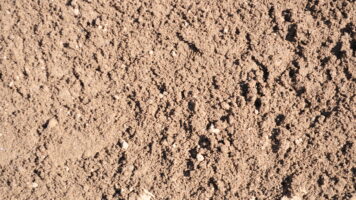
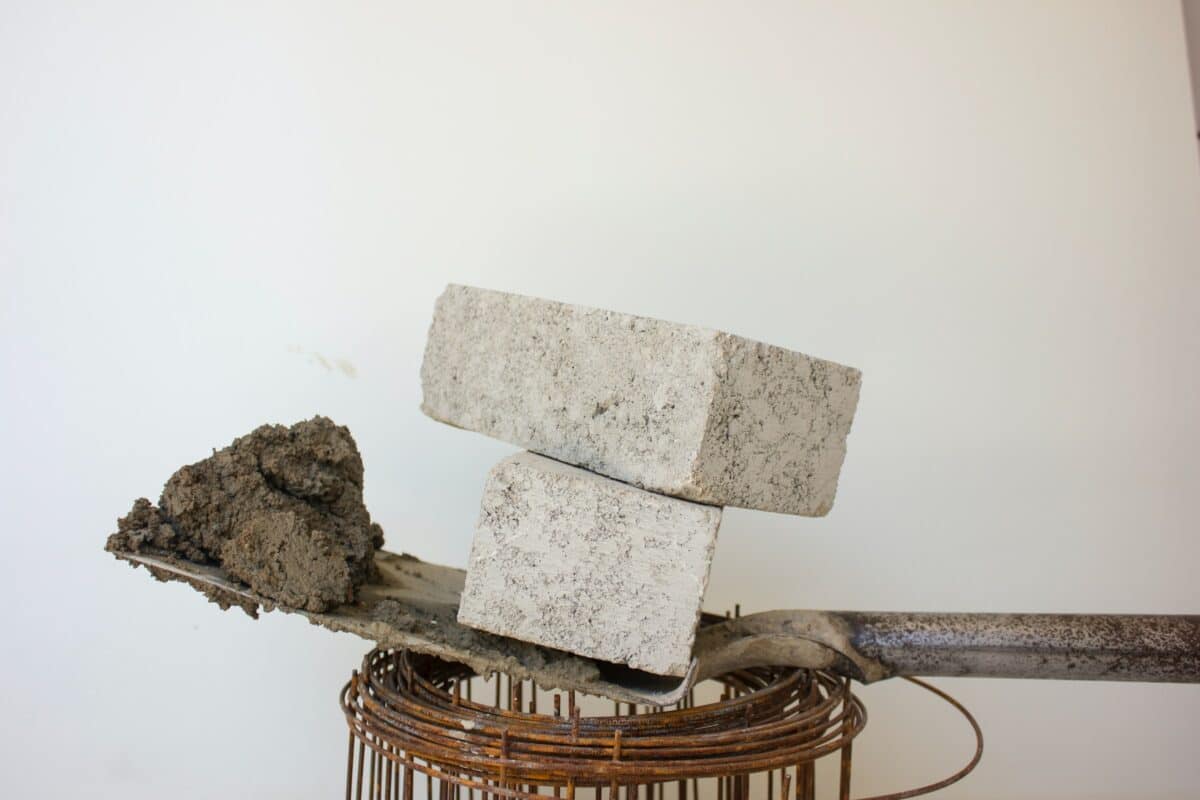
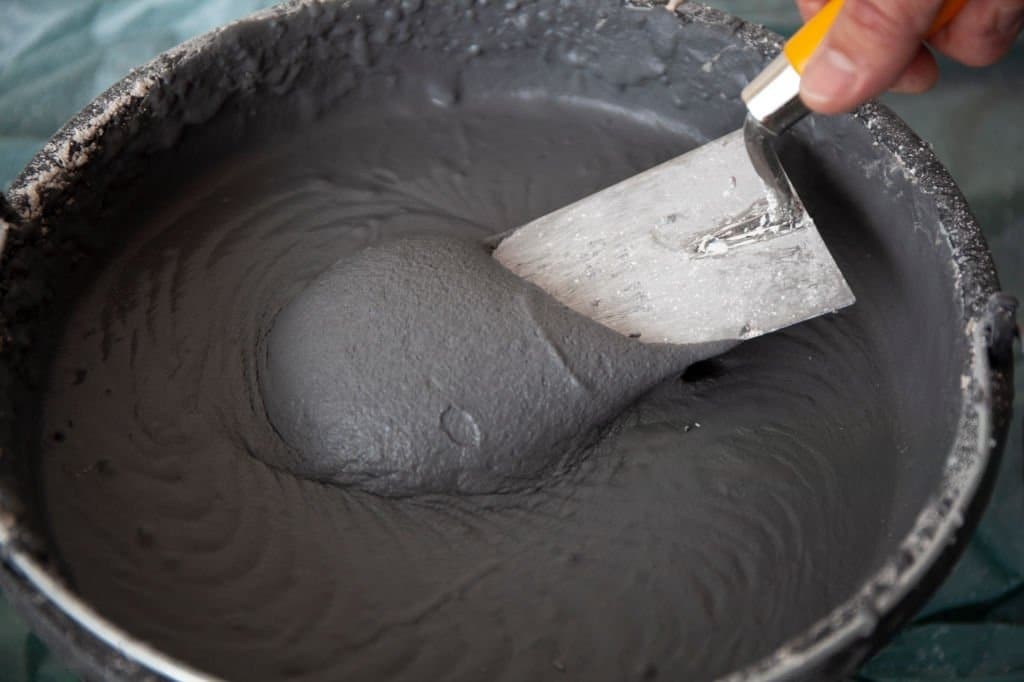
Step 3: Mix the Render
Prepare the render mixture, which typically includes a blend of cement, sand, and lime. Achieving the right consistency is crucial, so take your time with this step. Before that, you might also want to check out the Australian Building Codes Board’s Deemed-to-Satisfy (DTS) Provisions.
Step 4: Apply the First Coat
Begin by applying the first coat of render. Use a trowel to spread it evenly over the wall. Keep the layer relatively thin and rough; it will serve as a base for the final finish.
Step 5: Create Texture
Before the render dries completely, use a finishing tool or sponge to create the desired texture. Popular options include a sponge finish or a brushed finish, depending on your aesthetic preferences.

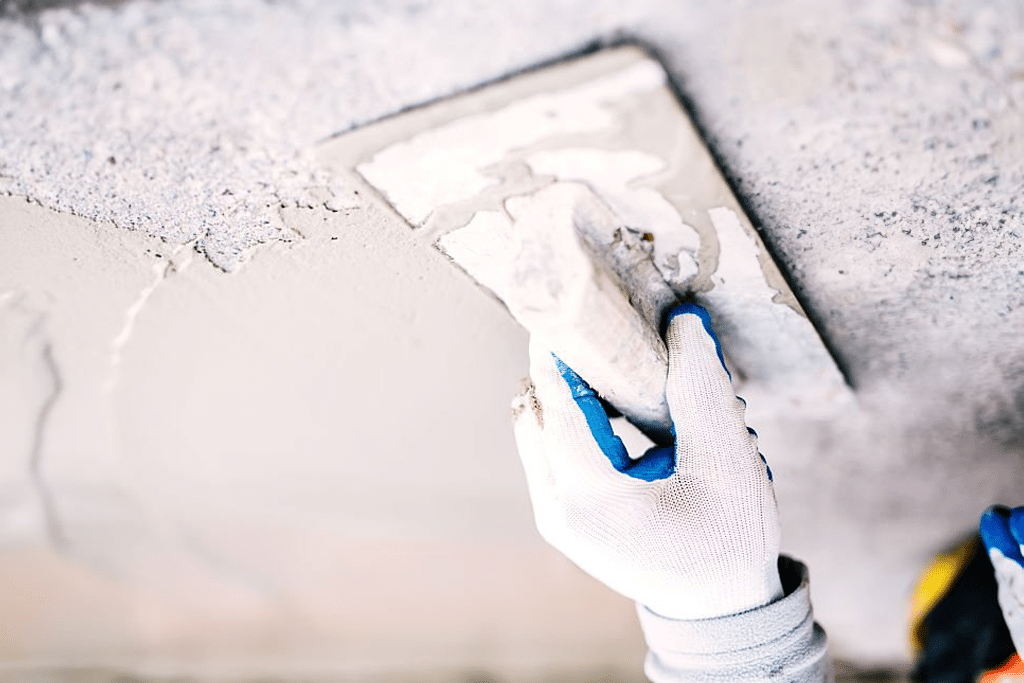
Step 6: Apply the Final Coat
Once the first coat has dried, it’s time for the final render layer. Apply it with care, ensuring a smooth and even finish. This coat will give your retaining wall an attractive appearance.

Step 7: Curing
Allow the render to cure for several days. This ensures that it hardens properly and achieves its maximum strength.

Rendering retaining walls is a fantastic way to improve the aesthetics and longevity of these functional structures. By following these steps you can achieve a beautifully rendered retaining wall that enhances your outdoor space. Alternatively, you may also consider using our Versasmooth to save you from all the hassle of rendering your own walls. For all your construction and landscaping needs, check out our products here.