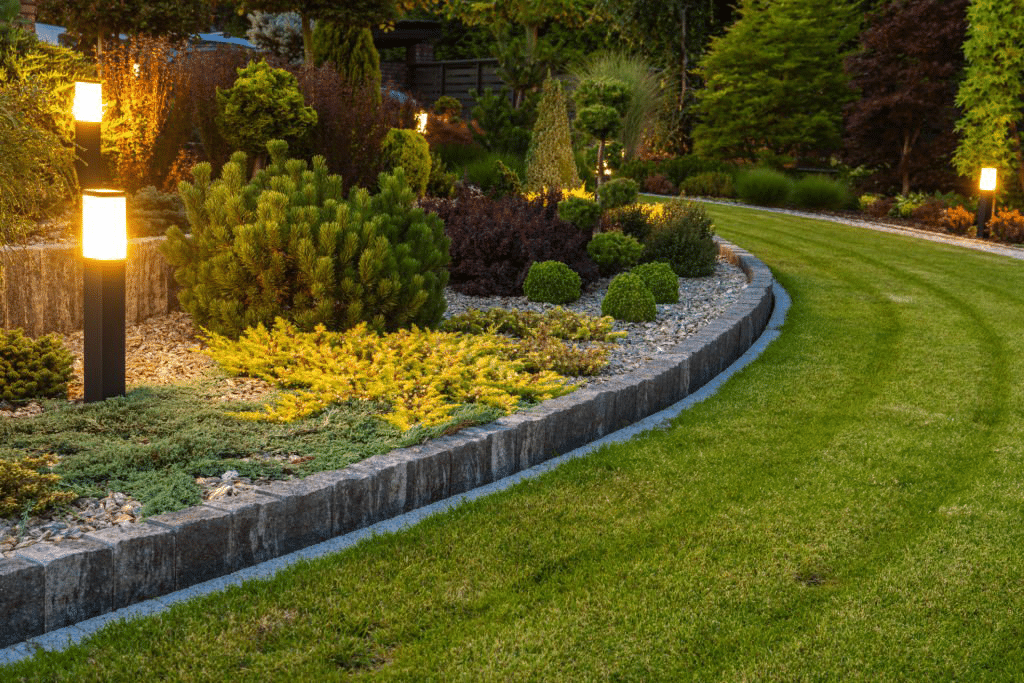
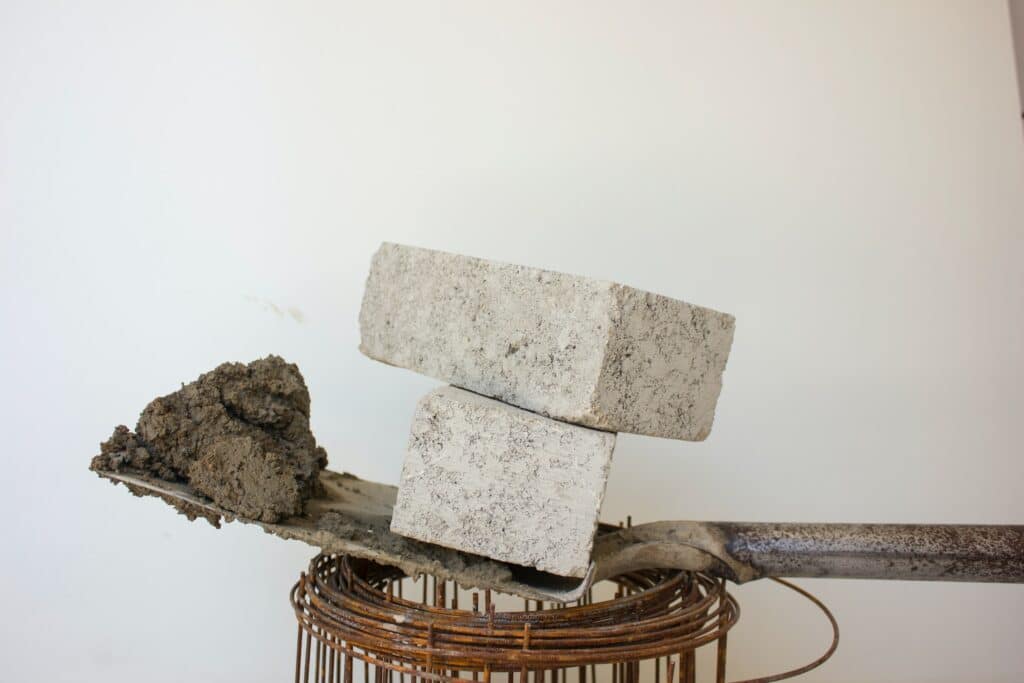
Elevate your outdoor space with custom concrete planter beds that add both style and functionality to your garden. Whether you’re a seasoned DIY enthusiast or a novice gardener, crafting concrete planter beds allows you to unleash your creativity and personalise your outdoor oasis.
1. Planning Your Design:
Before diving into the concrete pouring process, take some time to plan your design. Consider the size and shape of your planter beds, as well as the types of plants you want to grow. Sketch out your ideas and make note of any special features or embellishments you’d like to include.
2. Choosing the Right Materials:
Selecting the proper materials is crucial for creating durable and long-lasting concrete planters. Opt for a high-quality concrete mix specifically designed for outdoor use. Additionally, gather essential supplies such as concrete sleepers, reinforcing mesh, and release agents to aid in the casting process.
3. Preparing the Mold:
Prepare your mould by thoroughly cleaning and applying a release agent to prevent the concrete from sticking. For custom-shaped planters, consider using flexible rubber moulds or constructing your wooden forms. Ensure that the mould is sturdy and securely positioned before pouring the concrete.
4. Mixing and Pouring the Concrete:
Follow the manufacturer’s instructions to mix the concrete to the desired consistency. Pour the concrete mixture into the prepared mould, ensuring even distribution and filling any corners or crevices. Use a vibrating tool or tap the mould gently to remove any air bubbles and achieve a smooth finish.
5. Reinforcing for Strength:
To enhance the structural integrity of your planter beds, incorporate reinforcing mesh or wire mesh into the concrete mix. This reinforcement helps prevent cracking and ensures that your planters can withstand the weight of the soil and plants once completed.
6. Adding Personal Touches:
Get creative with your custom concrete planters by incorporating unique textures, patterns, or decorative elements. Consider embedding stones, shells, or glass beads into the surface of the concrete for added visual interest. You can also experiment with different finishing techniques such as acid staining or painting to achieve your desired look.
7. Curing and Sealing:
Allow your concrete planters to cure fully according to the manufacturer’s guidelines before removing them from the moulds. Once cured, apply a waterproof sealer to protect the surface from moisture and weather damage. This step helps prolong the lifespan of your planters and keeps them looking pristine for years to come.
8. Planting and Enjoying:
Once your custom concrete planters are cured and sealed, it’s time to fill them with soil and plant your favourite flowers, herbs, or vegetables. Arrange your planters in your garden or patio space, and watch as they become the focal point of your outdoor oasis. Sit back, relax, and enjoy the beauty of your handcrafted creations.
In conclusion, crafting concrete planter beds offers a rewarding and creative way to enhance your outdoor living space. With careful planning, the right materials, and a bit of artistic flair, you can design and build unique planters that reflect your style and elevate your garden’s aesthetic appeal. So roll up your sleeves, unleash your imagination, and start crafting your custom concrete planters today. For more information, feel free to reach out to us today!


